HOW TO MAKE LIQUID STARCH SLIME WITH KIDS
by littlebins
Have you ever tried sensory play recipes? Do you know all about sensory play? This type of tactile play is awesome for young kids and has so many benefits
When you want to keep the kids away from the television and engaged with hands on play, open up your kitchen cupboard!
Liquid starch slime is one of our favorite sensory play recipes! We make it ALL the time because it is so quick and easy to whip up. 3 simple ingredients {one is water} are all you need. Add color, glitter, sequins, and more!
HOST A SLIME MAKING PARTY!
I always thought liquid starch slime was too difficult to make, but then I tried it! Now we are hooked on it. Grab some liquid starch and glue and get started! We have even made it with a small group of kids for a science party!
Did you know slime is also science? Boy what fun science it is too! Encourage their love for science by making your own slime. it’s hands on learning and play all rolled into one cool and easy to do activity. Slime is definitely on our big list of cool science activities as a must try.
Kids love slime! This homemade, liquid starch slime will having you playing with slime in no time. I love how quick, easy, and instant this slime recipe really is. In 5 minutes you will have awesome slime to amaze your kids or they can make it themselves. We have incorporated tons of slime themes into our slimes. See these videos for some inspiration.
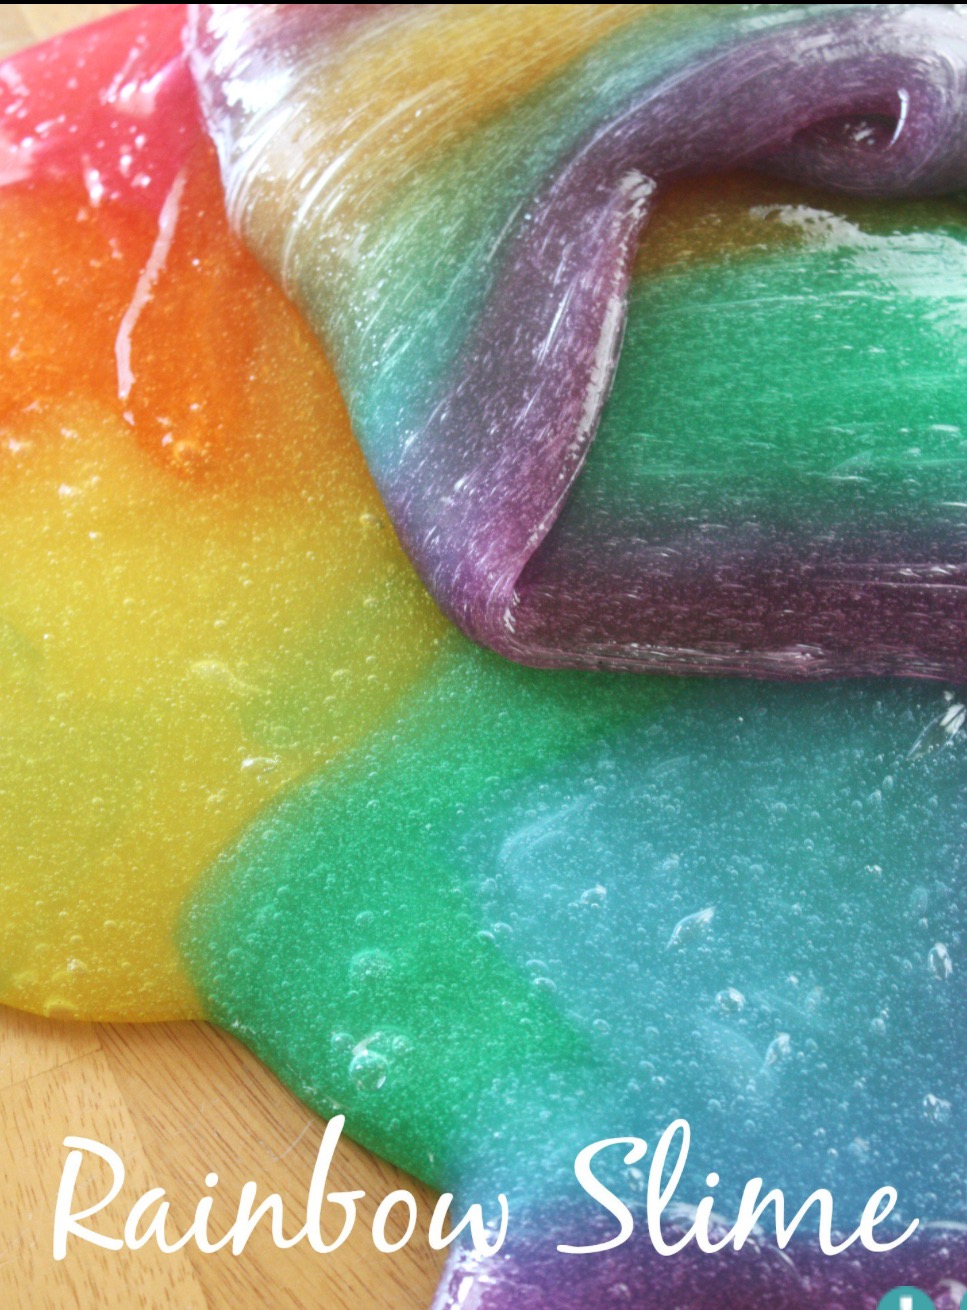
Rainbow slime is amazing. It is simply the best slime experience we have had! And oh my gosh we LOVE easy HOMEMADE SLIME! There’s nothing better than whipping up a quick batch of our simple slime recipe! Our beautifully colored, shimmery rainbow slime is perfect any tine of the year.
SUPPLIES USED
5 bottles of clear Elmer’s Washable School Glue
Liquid starch
2 bowls and a spoon for each batch {or wash as you go}
Water
Liquid food coloring
I used 4-6 drops of food coloring per batch. The red and green required the larger amount. To make the secondary colors I mixed three drops of yellow and two of red to make orange. Purple was three red and two blue drops. Green was it’s own color but needed 5-6 drops. You can play around with the colors as you like. Our red was on the lighter side, but he wanted it that way! I love how clear glue makes this rainbow slime shimmer and shine.
If you can’t get your hands on clear glue, try white! Your rainbow slime might be a bit more on the pastel side depending on how much color you use. I have tried dollar store and generic brand glues and they just aren’t as good. I suggest sticking with the good stuff if you want to make it right the first time!
My son loves to help measure and mix the ingredients but prefers to wait for the less messy end product. Our slime, once made, is not sticky or messy! The mixing is, so that’s my job. We played with the slimes individually and talked about coloring mixing. He could not wait to mix the rainbow slime together.
We were able to stretch out the rainbow slime colors and place them next to each other to build a rainbow. At this point, the colored slimes could easily be separated. Once the real hands on play started, the colors really started to mix in beautiful ways.
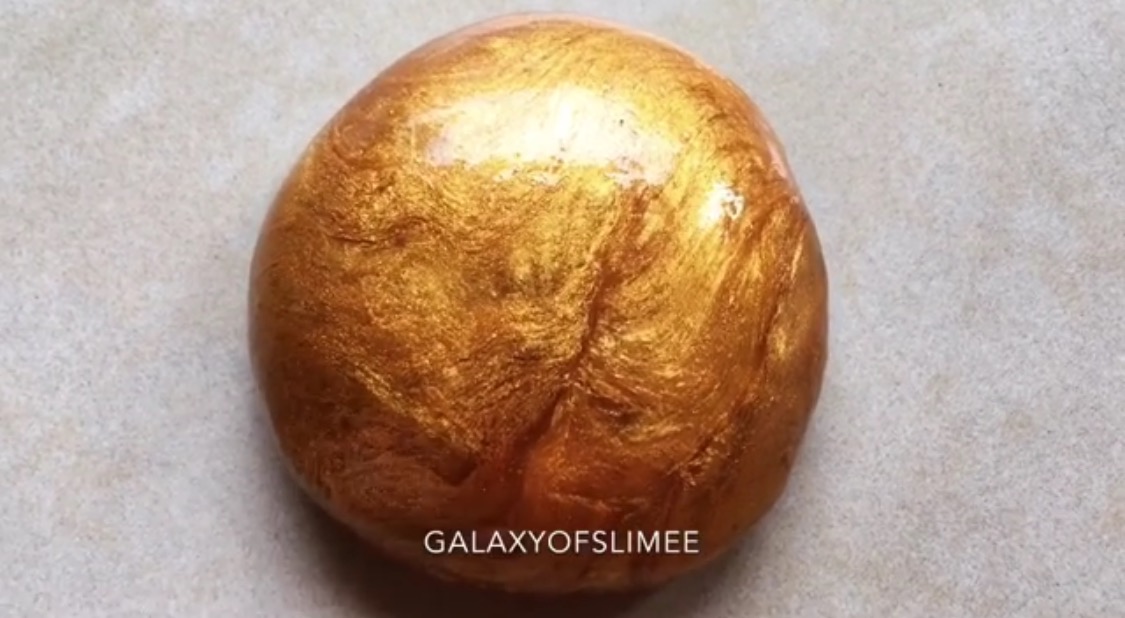
The perfect looking gold slime
Rainbow colored slime
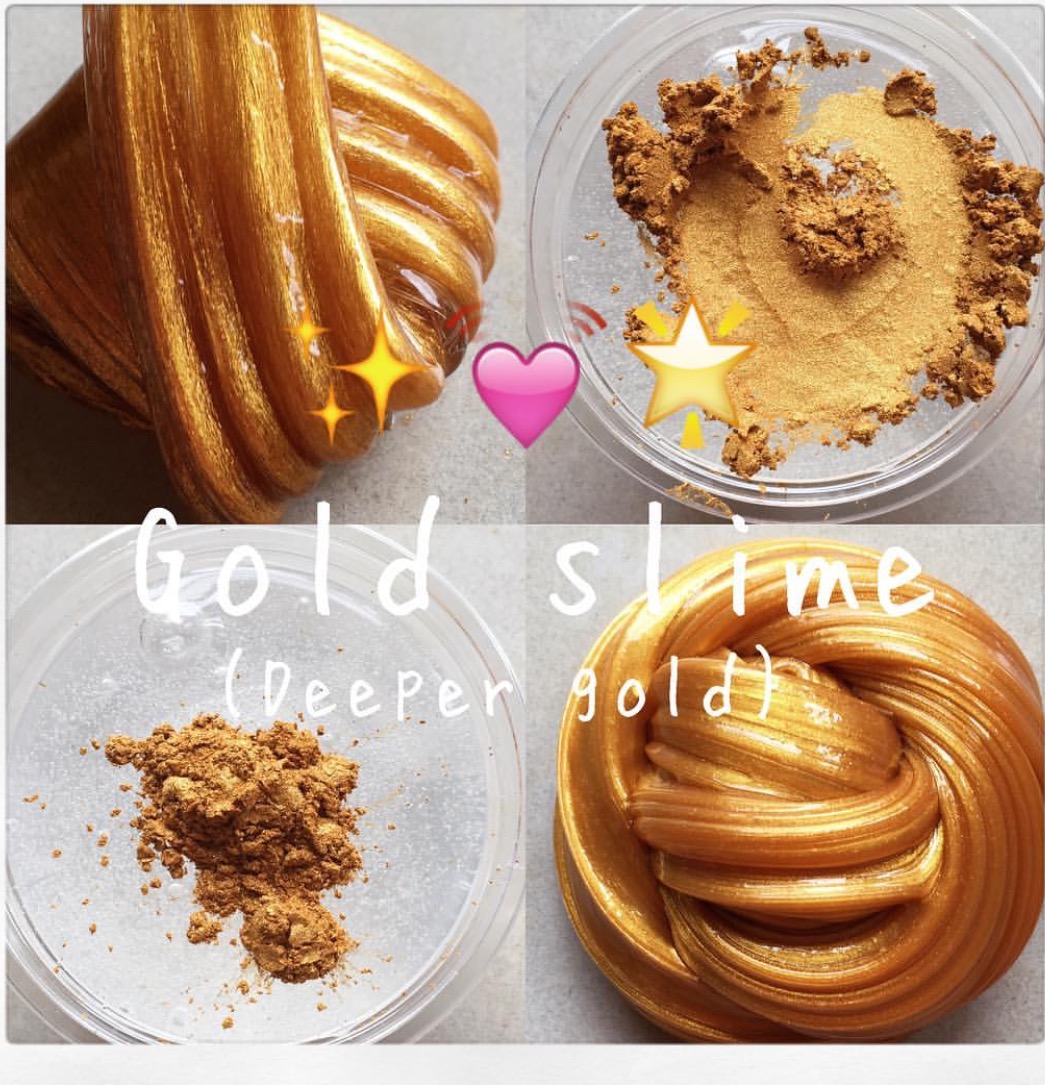
The perfect deeper gold slime
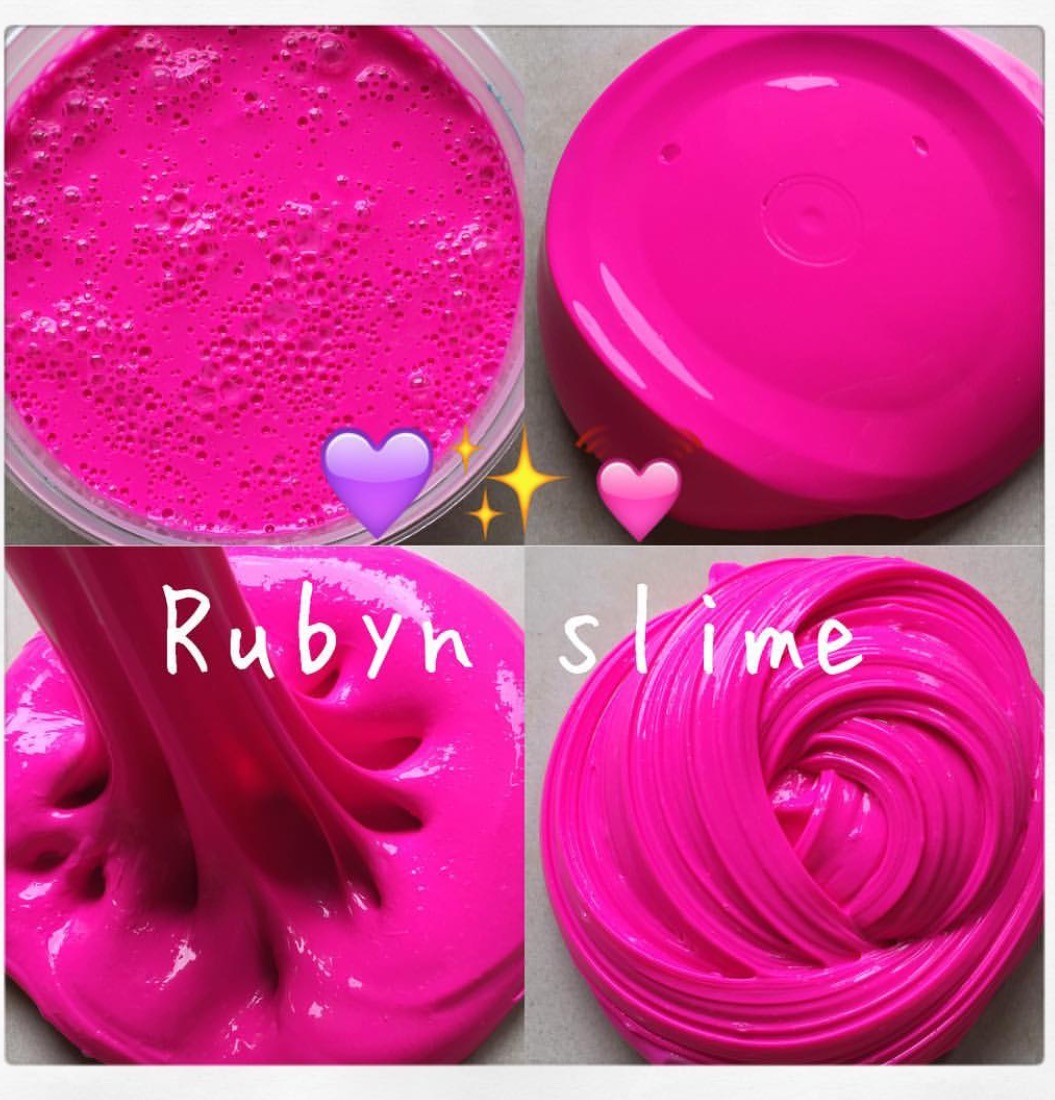
The perfect Rubyn Slime
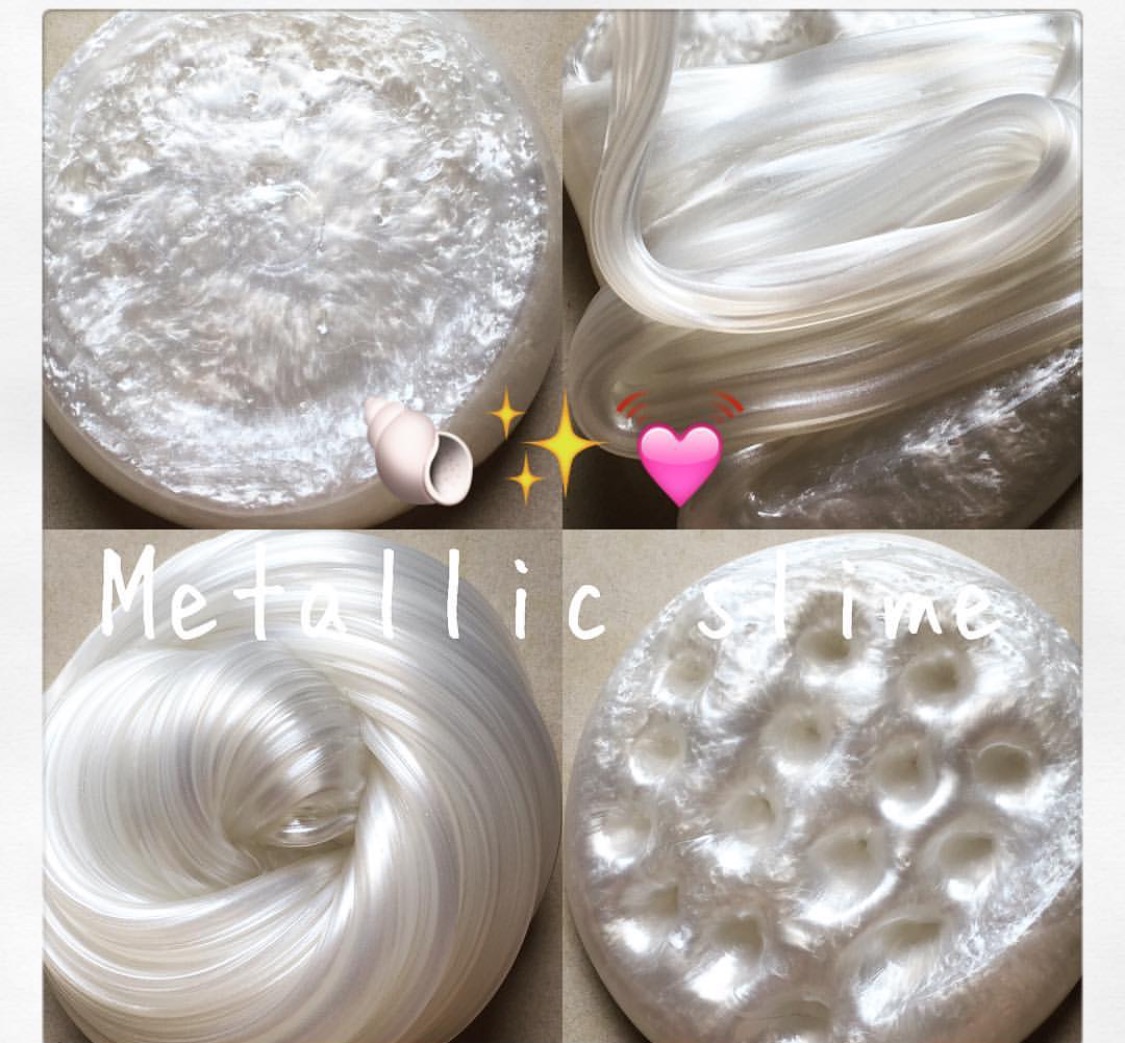
Metallic Slime